Showing posts with label dinner recipes. Show all posts

Sunday, July 13, 2014

Season's First Eggplant = Eggplant Parmesan with Roasted Tomato Sauce


Eggplant Parmesan
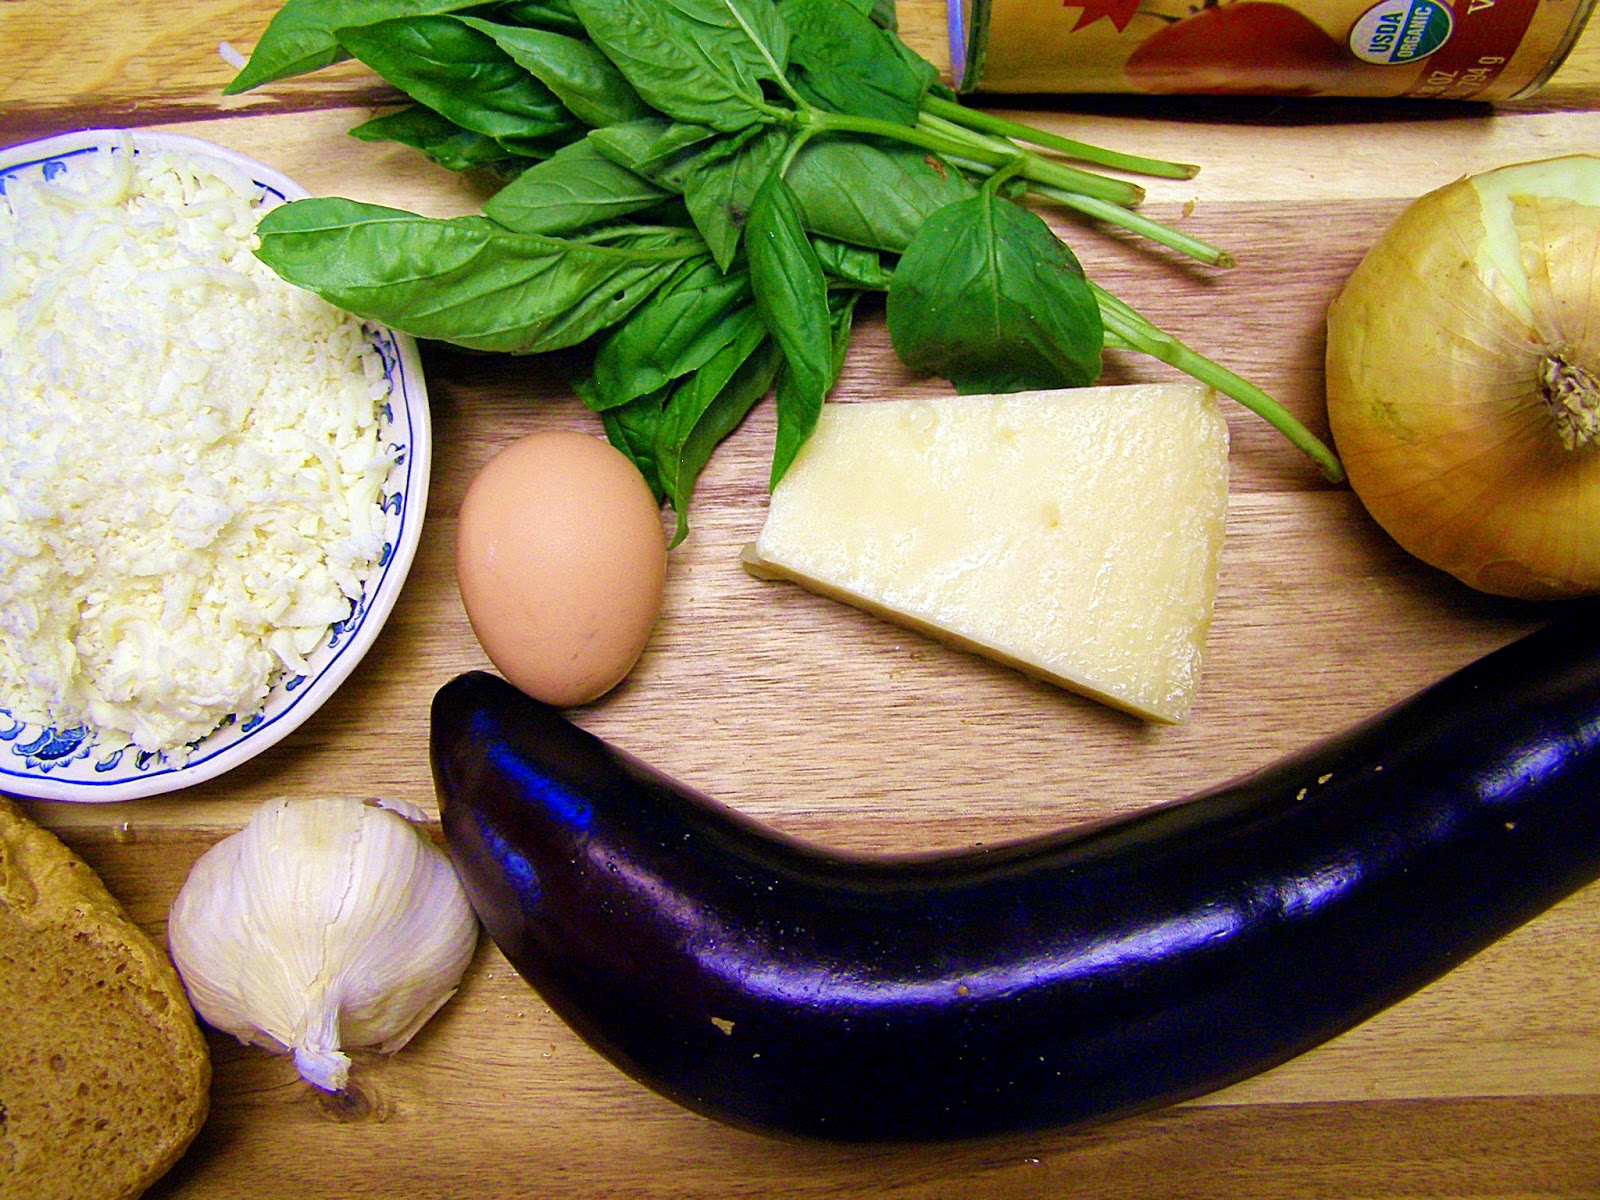
We returned from vacation to find our first beautiful eggplant. Usually, I like to make Eggplant Parmesan with a fresh tomato sauce, but all the growing tomatoes are green and I've used up last summer's frozen tomatoes. But my pantry always has a jar or can of organic whole tomatoes, and I have plenty of fresh basil, so dinner is on. 

Roasting canned tomatoes is a great way to bring out their flavor, so that's my plan for the sauce. You can use a jarred sauce for this if you want (and I use plenty of that for pizza and such), but your eggplant will thank you if the sauce is fresh....and it's really easy.


First, preheat your oven to 350F. Then, find a pan in which the tomatoes will fit snugly, but not be on top of each other. A 9" square/round pan is usually great, and most people have these in the kitchen. Add a touch of olive oil, chop an onion, add a dash of red pepper flakes, and pop it in the oven for 10 minutes or so. You want the onion to soften, but not brown.

Canned tomatoes
While the onion is roasting, drain (and save!) the juice from your can of tomatoes. We'll add this back in later, but we want the tomatoes to roast, not stew. I actually had a half tomato from the garden so I chopped that into large chunks. Grab a few cloves of garlic and peel them. If they're large, split them down the middle. You can also see some shallot I found that needed to be used.


Roast tomatoes
When the onions start to soften (as you can see, mine were not quite translucent yet), add in the drained tomatoes, garlic, shallot. I added a splash of olive oil, salt, and pepper and stirred it up. Now it goes into the oven for 30-40 minutes to slow-roast.

Fresh Eggplant
While that's roasting, it's time to work on the eggplant, which needs to be sliced thinly (maybe 1/4" slices). You can see two tins: one has some seasoned breadcrumbs, and the other has a beaten egg with a little water added to stretch it. Dip the eggplant slices in egg wash, then in the bread crumbs, and put them on a cookie sheet. Roast them at 350F for 5 minutes, then flip and roast for another 5 minutes.

I found this no-fry technique for eggplant here a few years ago, and I strongly prefer it to frying the eggplant in a skillet. It stays crisper, is healthier, and I don't have to have both the stove and oven going in a Tennessee July. I don't make eggplant parm in the winter....eggplant is a SUMMER vegetable and the flavor is far superior when it's fresh. 

Also, when I pick eggplant fresh, I almost never find that it's bitter, or that the skin is tough, and I never have to salt it ahead of time. Word to the wise: TASTE a piece of the raw eggplant to be sure! In fact, taste everything as you go. You'll learn a lot about how flavors develop.

Roasted tomatoes
Above, you can see the tomatoes after about 35 minutes in the oven. They smell divine.
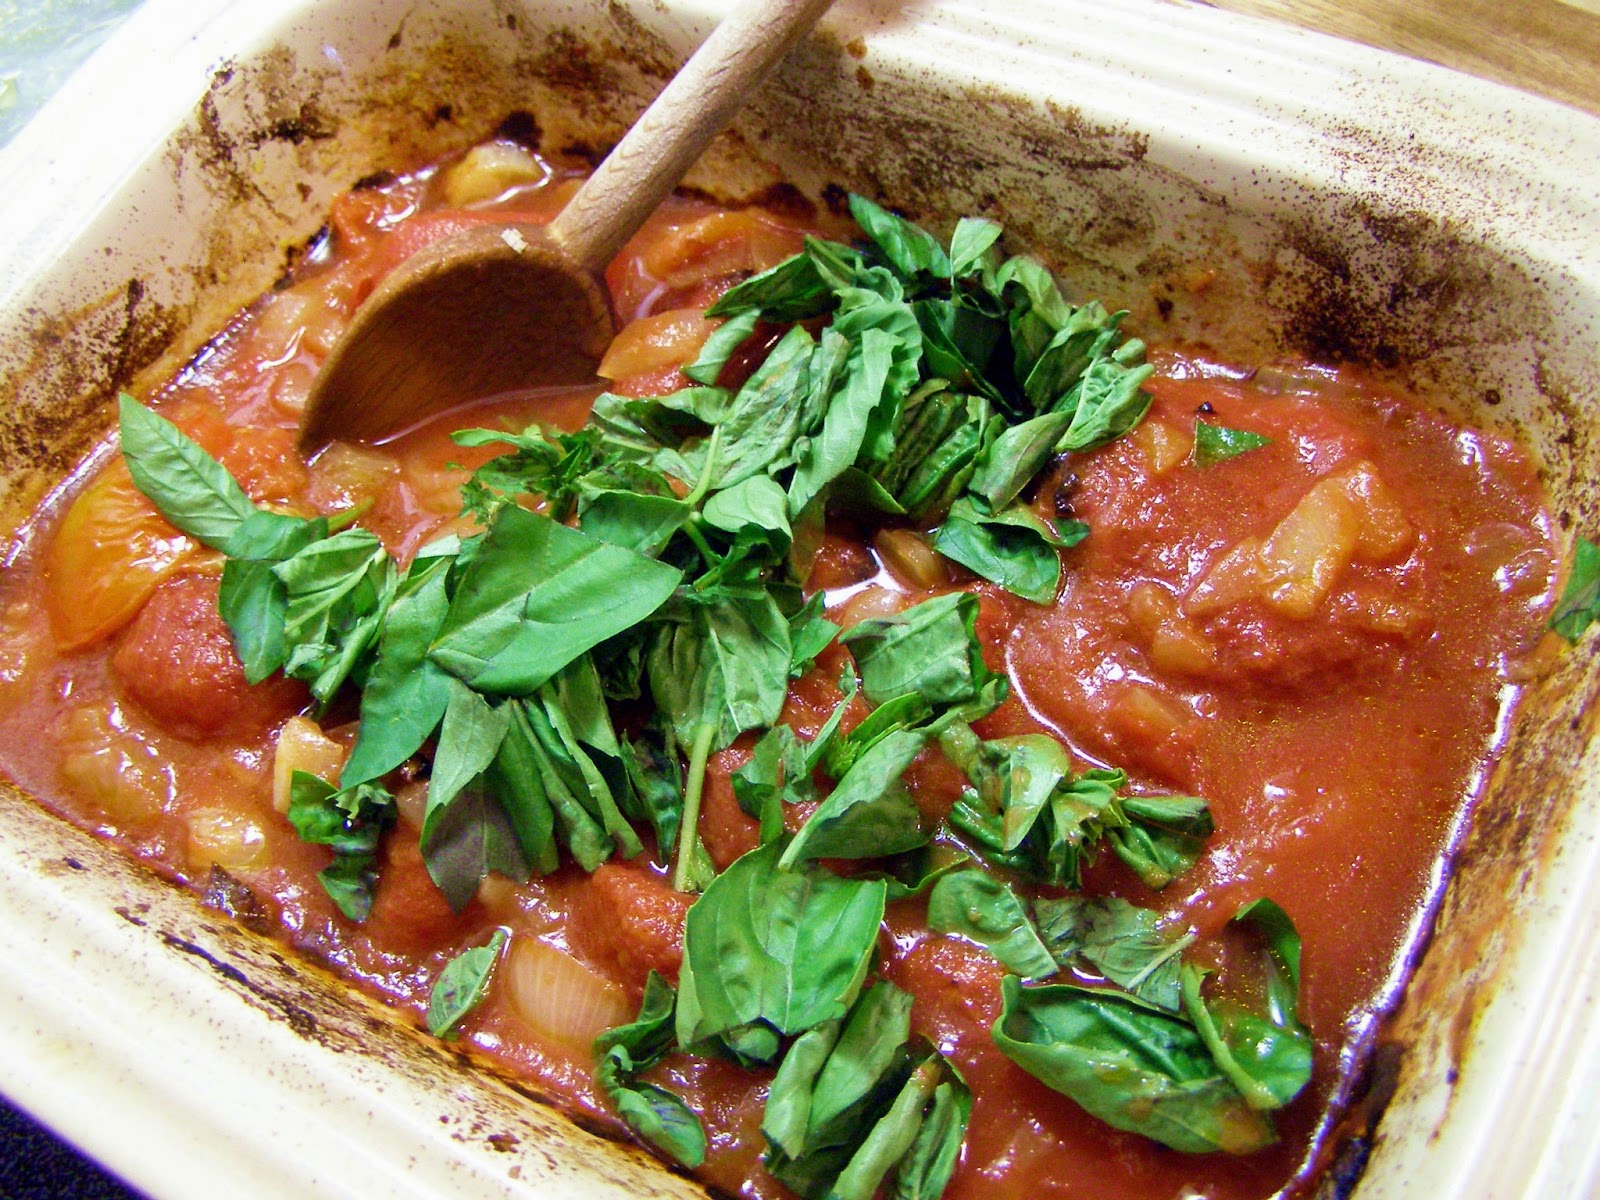

Next, roughly tear the basil leaves, and mix them + the reserved tomato juice all in with the roasted tomatoes. This is then set aside to cool a little while we finish roasting the eggplant slices. (Taste it.)
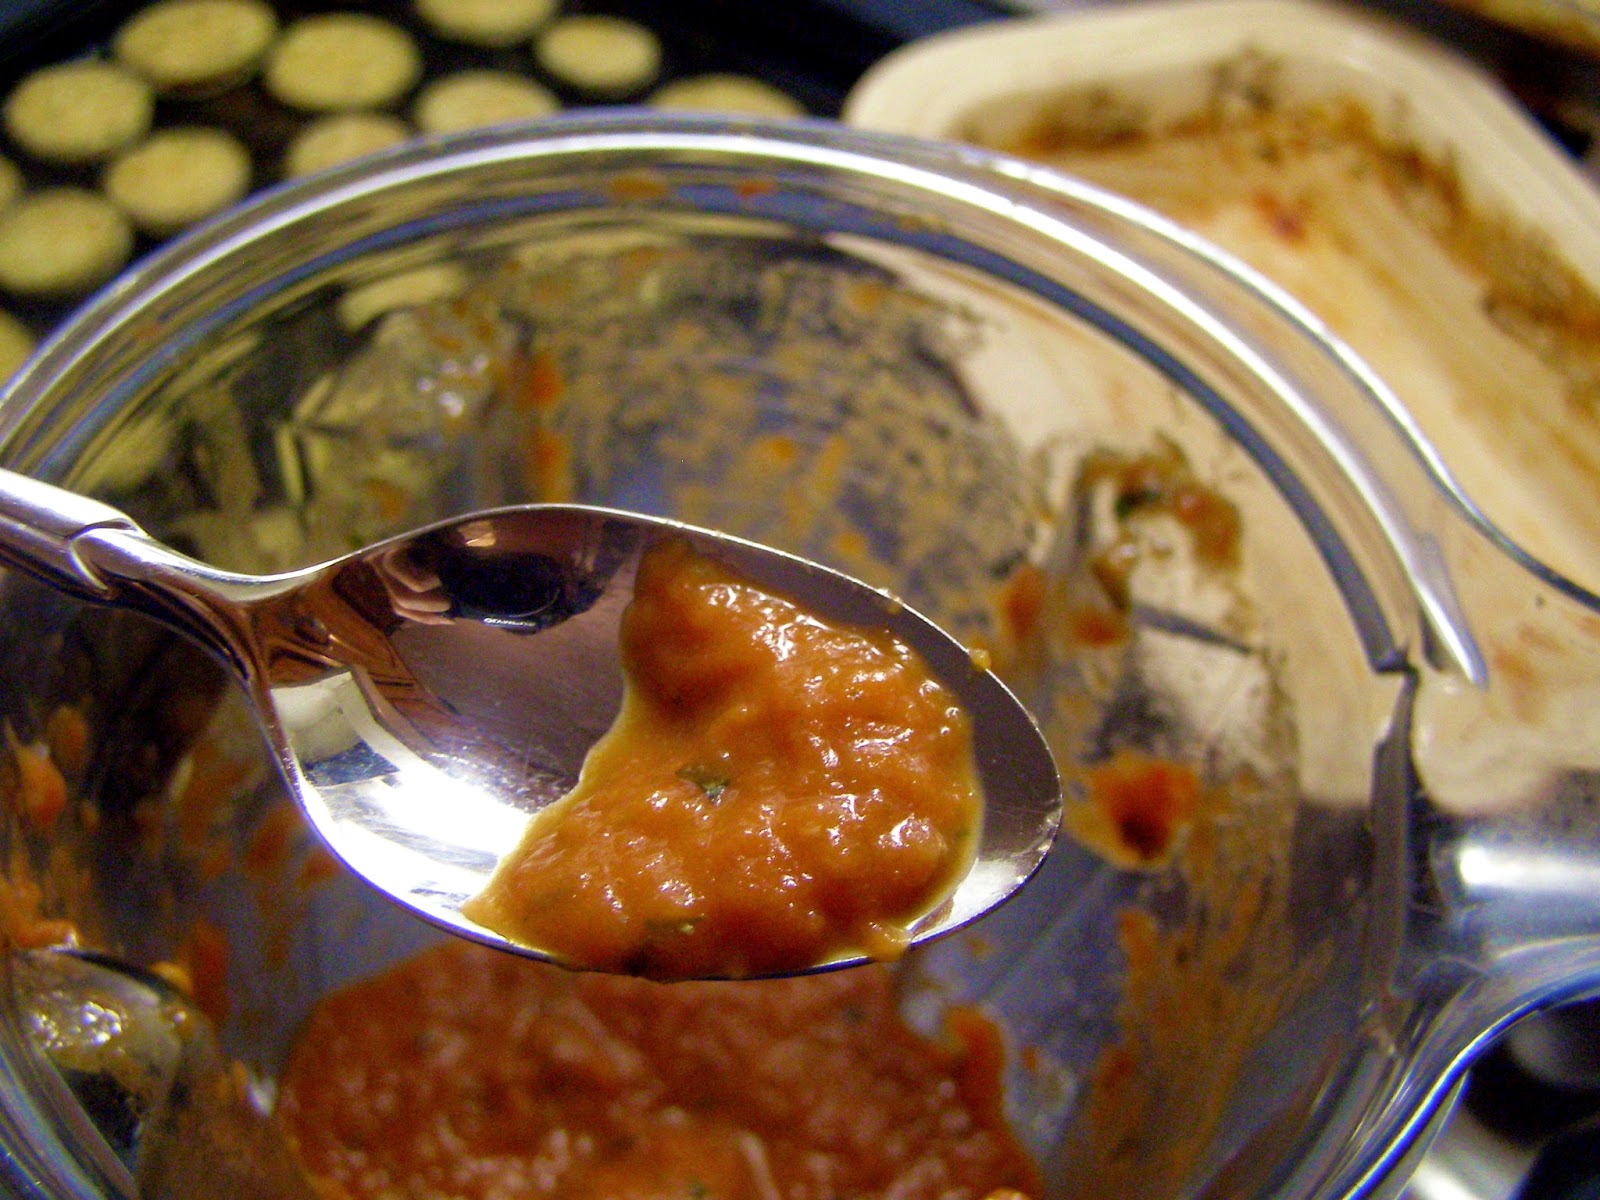

Quick tomato sauce
Once the sauce cools a little, dump it all into the blender and let 'er rip. Then, (of course) taste the sauce and see if it needs salt or pepper. This is also basically how I make my fresh tomato sauce (minus the roasting of the tomato). With roasted or fresh tomatoes, it is unlikely you will need any sugar. Sauce made this way will look a little pinker than jarred sauce, and it should taste really fresh.

Now, at this point, you can (1) set everything aside and assemble the dish shortly before you eat, (2) assemble the dish and store it in the fridge to bake later, or (3) assemble and bake now. If you put it in the fridge, I recommend putting it in a cold oven so it can warm as the oven preheats.


Eggplant parmesan
Assembly: put some tomato sauce in the bottom of your dish. Layer in the eggplant slices. Top with grated mozzarella and grated parmesan. Then start over, until your dish is full.

Eggplant parmesan
Here's the dish, ready for the oven. Bake at 350F for 30-45 minutes until browned and bubbly. (So, check it at 30 and see how it looks, but know that it won't need more than 45 to cook thoroughly.)
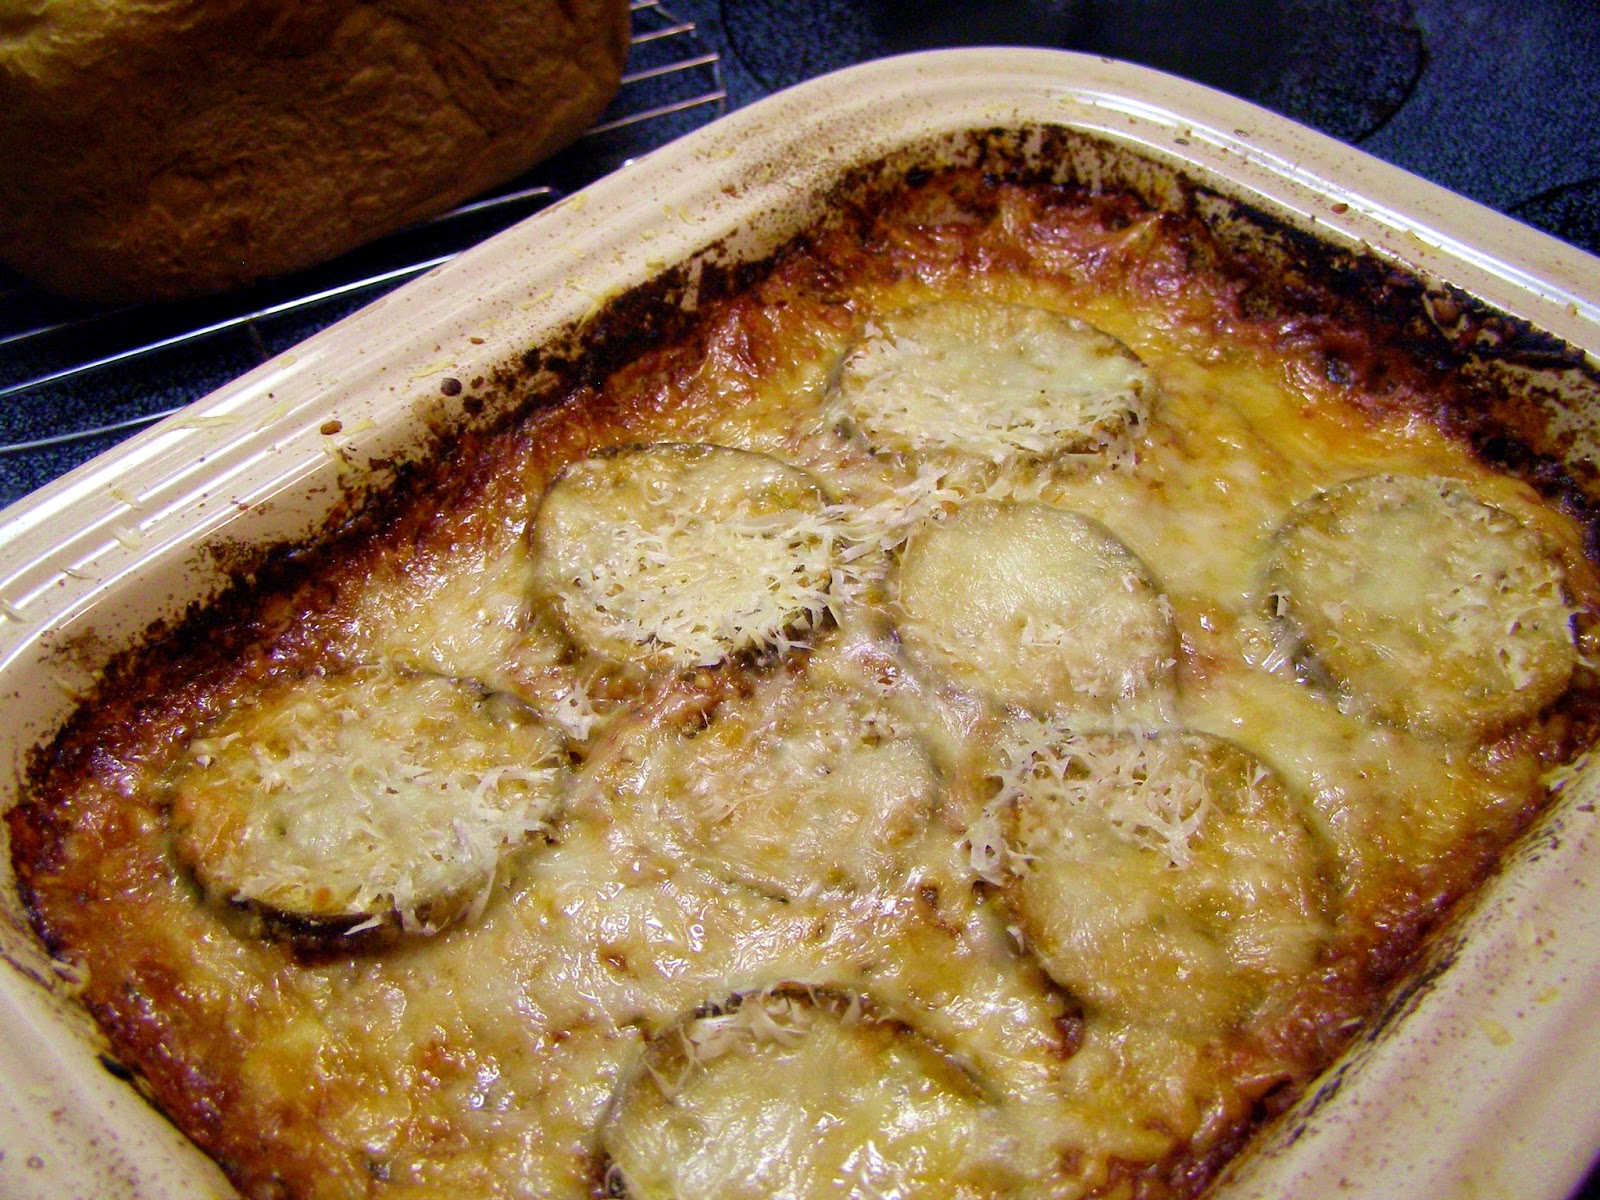
Eggplant parmesant
Here's the finished dish, ready for dinner! I've set up a "glory shot" here, with the homemade bread in the background. Three out of four family members rated this dish a "10," and we picked up some more eggplant at the local Farmer's Market to enjoy the bounty of the season!

Buy seasonally. Cook simply. Eat well!


Saturday, April 7, 2012

Better than a Bakery! Artisan bread for dinner in less than an hour.

There is nothing like still-warm-from-the-oven bread on the dinner table.
I absolutely love freshly-baked breads and muffins, but have always found kneading/rising and the intricacies of yeast to be daunting. It all just seemed like a lot of work when I can pick up a really nice loaf of bread at the bakery for a special dinner. Then I started hearing/reading about "no-knead artisan bread" and was intrigued. Finally, about two years ago, I stumbled across this "Artisan Bread in 5 Minutes a Day, Seriously" post and decided to give it a try. 

Basically, it goes like this: dump ingredients into bowl, mix, cover loosely/let rise, put in fridge. Later, cut off dough, let sit, put in oven, eat yummy bread. Have I mentioned how my family raves about this bread? So, here it is again, with pictures. A printable recipe is here.

My ingredients: Flour (my "everyday" flour is a mix of unbleached white and King Arthur's white wheat), flaxseed meal, yeast, kosher salt, and warm water.


Put 1 1/2 Tablespoons of kosher salt and 1 1/2 Tablespoons of active dry yeast in a large bowl. If you are using the packets of yeast (this is what I bought at first), use two. Now that I make bread often, I buy yeast in bulk. I keep a jar of yeast in the fridge for regular use and store the rest in the freezer.

Add 3 cups of warm water (from the tap is fine). It should feel warm to the touch, but not hot.

Add 6 1/2 cups of unbleached all-purpose flour, using the "scoop and sweep" method to measure. This is a great place to experiment! Whole wheat, spelt flour, sprouted grains flour, etc. Here, I used 6 cups of my unbleached white/white wheat mix and 1/2 cup of flax meal. I love the subtle, nutty flavor of flax meal, it gives a beautiful color/texture to the bread, and it's also a really great thing to put into our bodies. 

Mix until there are no more dry spots of flour. You can use a mixer if you have one, but I don't and I wouldn't use it for this even if I did. Here I am about halfway mixed; it's coming together, but I still have spots of dry flour.

Here, it's well-combined and ready to rise! I scrapes down the bowl sides also. I have a lid for my bowl  with holes punched in the lid (more about that later), but you can just loosely cover your bowl with plastic wrap.

Bread rising: pictures from l-r at 2:30, 3:30 and 4:30, respectively. You can cut off a bit now for your first loaf or just pop it right into the fridge, which is what I did this time. I think the flavor develops better if it has some time to sit. With this amount of dough, I'll typically make three loaves over the course of 5-8 days. You can leave the dough in your fridge up to two weeks; it will develop more of a "sourdough" flavor as it sits.

You need to bake in a preheated, 450-degree oven. You can bake it in whatever you usually use in the oven: pyrex pan, pizza stone, cookie sheet, cast-iron skillet. I did try baking on a pizza stone with a little dish of water, but decided it was too fussy for me. Then I went searching for other options and loved the idea of using an enameled dutch oven as shown here at Oregon Cottage. I don't find that I need the parchment paper she uses and my dutch oven is quite large, but I use a little enameled stoneware baking with a lid. The crust comes out beautifully with this method! 

Whatever you use, I recommend preheating the dish in the oven.

Here is the dough the following afternoon when I took it out of the fridge. As you can see, it lost a bit of mass as it cooled. Sprinkle some flour on the top and dust your hands. Have a sharp knife or kitchen scissors ready.

Pull and cut the amount of dough you want. Then stretch the dough to create a gluten cloak. 


I did not even attempt to photograph myself shaping the loaf because this short video will be much more helpful.


Do note that your bread may look different from the bread in the video because she used 100% white flour and bread flour at that! Here is what my finished loaf looks like before I let it rest. You should really let it rest for at least 30 minutes, though 45 is better if you have the time. I have popped it in the oven after only 15-20 minutes in a pinch and it comes out fine, though it doesn't rise up quite as much in the oven.

Before baking, dust the top of your loaf with flour and then slash the top (I sometimes do an X design as well). I pop mine in the hot pan, put on the lid and cook for 15 minutes. Then I remove the lid and cook an additional 15 minutes. When it's finished, the crust should be brown and it should sound hollow when tapped. Remove to a cooling rack.

To store uneaten bread, turn the cut side down on a plate or cutting board. Sometimes I wrap it in a clean tea towel. I did try storing it in a plastic bag but the crust became soft right away and I found it was prone to mildew in the summer as we are in the humid South.

If you start making this often, as I did, you'll probably want to invest in a bowl with lid that is a good size for your fridge. I'd initially meant for this picture to show the holes drilled in the lid, but then I saw the cool reflection of my kitchen window in the lid and went that way instead. Just make sure the dough is mostly covered but has a way for any gases to escape.

I cannot believe how easy it is to make fresh bread for dinner! Basically, I make a ball, let it rest for 15 minutes, preheat the oven and my pan, pop it in when the oven beeps that it's preheated and cook for a half hour. It's simple to do while making other food -- or to have fresh bread for a leftover night. I love being able to take freshly baked bread when I visit a friend or neighbor.

Updated 4/8 to add picture of bread interior. This was the last loaf from this baking and had been in the fridge for about 6-7 days. The crumb is denser if I use a higher proportion of wheat flour, I have found. The little nooks/crannies make excellent buttered toast!

I hope you will try your own hand at making this simple and delicious bread! I encourage you to explore further, either via web search or here at the original Artisan Bread in Five web site. 

Bon appetite!

Wednesday, March 21, 2012

Have you missed me?

Some people who read this blog who know me in "real life" and ask about it. Some people who read this blog know me only through some online message boards, etc. Some people who read this blog just stumbled upon it somehow.

So my my next post is for those who have found and enjoy this for whatever reason. What should my next post be about? I am opening voting, but feel free to add any requests, based on a conversation we've had recently or a previous post where I've mentioned following up or getting back to something. Post a comment with your vote or suggestion and my next entry will be on the topic that gets the most responses.

1. Greens puree/greens smoothie & review of my wonderful Christmas-present-from-my-kickass-mother-in-law cookbook, What Chefs Feed Their Kids


2. Asian-esque meal planning for busy weeknights using leftovers creatively (kid-friendly dining, vegetarian meal night options)

3. Artisan bread: make beautiful, bakery-quality homemade bread for dinner in an hour or less (no kneading!)

I look forward to all responses! Thanks for reading.


Monday, September 5, 2011

Simple Summer Supper: Beans & Taters

"Purple" green beans.
Beautiful, locally-grown potatoes (aka "taters")

I recently found myself with a wealth of both beans and potatoes and was musing about what to cook for dinner when my 5-year-old suggested combining Green Beans Almondine and pan-fried potatoes. The result played up all the freshness of the food and was healthy and delicious. I've already made it twice this summer! Bonus: it makes a great vegetarian dish.

Sampling is always allowed. You can see the potatoes in the background.
First order of business: clean and snap beans. I just toss them into a sink full of cold water and swish around with my hands, scrubbing any remaining dirt off with my fingers. The kids often will "help" snap as long as they can snack along the way. I am a stickler for removing all strings -- this is why I snap all but the youngest and smallest beans.

Blanching green (or purple) beans is easy. Bring water to boil, add a pinch of salt and cleaned/snapped beans. Cook for 3-5 minutes, then remove to ice water bath. You can see here, about two minutes into cooking, that the purple is disappearing from my beans. C'est la vie. While the beans blanch, I scrub and cut potatoes.

As you can see, the "purple" beans are quite green after cooking; here they are in their ice bath. Once they are cooled, they'll retain their bright green color and you can eat them like this or add to your salad, or stir fry or, of course, with potatoes...which I also blanched (same process, but for about 12-15 minutes, or until fork-tender) before cooking in the skillet.

Toasted almonds, brown and buttery.
While the potatoes blanched, I toasted my almonds in a little Smart Balance (butter or olive oil or toasting dry works just fine as well). I love the nice color and flavor and, especially if the entire meal is vegetarian, I like to add some good fat. (Note: use of Smart Balance actually makes this a vegan meal!) Toast in skillet till brown, then scoop carefully out so the nice browned butter-and-nut flavor is there for your potatoes.

If you don't want to also blanch the potatoes, you could roast them or pan-saute them; it is up to you. I like blanching because then finishing them in the "almond butter" makes for a lovely flavor. At any rate, add the potatoes to the pan along with a little olive oil and chopped garlic and brown to your liking (or just till they crisp up here and there, as was my choice this day). Then add the beans and season to taste with salt and pepper. Last of all, top with the crispy toasted almonds. I think some lemon or orange zest would be a lovely addition to this dish, if you are so inclined.

Here is my 5-year-old's portion of our simple "Beans and Taters" supper, served with some corn on the cob and leftover mixed veggies. Notice there is no meat on the plate! This vegetarian meal provides all of the protein, nutrients and amino acids necessary for good health. My husband works a physically-demanding job and found this meal satisfying and tasty (he takes it for his 2 a.m. "lunch") and asked for a repeat performance, only with more-browned potatoes.

Monday, May 2, 2011

Full-on American Food

When I was a kid, I heard someone explain how a hot dog was the perfect illustration of a quintessentially American food. You've got a sausage from Vienna, bread from the Midwest and condiments from across the globe. I liked the idea of food illustrating our melting pot, but really can't we offer up something better than a hot dog? If you say McDonalds I am now plugging my ears and running away screaming. I find it sad that most of the rest of the world thinks golden arches and Coca-Cola when they think of "American Food."

What is Real American Food? It's basically "peasant food." Real American Food is simple, fresh and easy to prepare. The thing that makes Real American Food unique is the surprising blend of flavors from around the globe.  I've worked in restaurants with some truly talented chefs. I've watched amazing chefs on television. They all say the same thing: get the freshest ingredients you can and cook it simply and you'll always have amazing food. I think it finally sank in when I started cooking with Alice Waters' The Art of Simple Food.


Tonight's dinner is Real American Food: Pork Chops with russet and sweet potatoes and Swiss chard. The pork, sweet potatoes and chard are all from a local farm with Avalon Acres. The russets came from Costco. Easy, breezy, simple meal.

Pork Chops with Potatoes and Greens
Season pork as early in the day as you can, but at least 30 minutes prior to cooking. I made up a rub with sea salt, pepper, chipotle powder, garlic powder, onion powder and a bit of brown sugar. You can season it the night before or in the morning and pull out of the fridge while you prep/cook other things. It needs some time to come to room temperature to cook evenly.

Slice potatoes and season lightly with salt and pepper. Brown in about 1/2 TBSP olive oil in skillet (they will not be fully cooked). Add chopped or sliced onions and garlic if you like. Remove from pan and add a bit of vegetable oil or bacon grease (just about a scant teaspoon or so). Brown pork chops on both sides. Add a cup or so of chicken or vegetable stock and scrape up the browned bits. Add back in the potatoes, cover and lower heat. Allow to simmer for about a half hour until the pork is cooked through and the potatoes are tender. Wash and roughly chop greens and add to pot; cook until tender (mine took about 5 more minutes).

I served this with homemade bread and some brown basmati rice since my children are hit-or-miss with eating potatoes. It's not fancy, but it sure is tasty.

Friday, February 18, 2011

Pizza and a Movie

Toppings to please everyone.
Everyone loves pizza, right? Well, not my kids...not until we started making it ourselves. We all look forward to our Friday Pizza and Movie night now. The kids can help as much or as little as they like, whether by kneading dough, adding toppings, or just watching during the afternoon snack. The first few times we made pizza, the children loved helping but refused to eat anything. Once they finally ate some, they were hooked and now pizza is becoming a vehicle for them to try new and exotic toppings like pepperoni or red onion.

I used to be incredibly intimidated by baking, what with all the precise measurements or even weighing (how fussy!) and odd lingo like "knead until smooth" or "punch down." I have discovered, to my delight, that I can kind of blunder my way through many breads and doughs and they turn out just fine. 

If my 4-year-old can knead, so can you!
With this recipe, some kneading is required (about 5 minutes). I just stretched and turned mine...basically was experimental and had fun with it. I prefer my approach, but if you want a tutorial, here is a nice one from epicurious.com. I'm warning you though, it is a lot more meticulous than my Fun-with-Flour Method and I also don't go to the trouble of dividing the dough into two balls...this is supposed to be fun, easy dinner! Note repeated use of the word "fun" here. I use a pizza peel and pizza stone, but you could bake this on a cookie sheet if you don't have one. Just check it a little sooner and adjust the cooking time as needed.

If you don't have the inclination to make your own pizza dough, you can buy raw pizza dough from your grocery's deli, which can be frozen -- just remember to pop it in the fridge in the morning and you can use it that night. You can also get a totally premade crust in the bread aisle if that floats your boat. If you find your family loves Pizza Night, then at some point do try to make your own crust. It is easier than you think!

Doughball, ready to rise. Looks fancy, doesn't it?
I plan on about 20 minutes to make the dough, then I give it about 1-2 hours to rise. In the winter, I turn my oven on "hold warm" while I make the dough, then turn it off before putting the dough in. I have cut the dough in half before rising and frozen part of it and this works just fine, so if you only need one pizza...or wanted to make a double batch and freeze half, it will work.

Our timing: make dough, tidy up/check email/play outside (who knows where this time goes?) for 30-45 minutes, decide on movie, get everyone settled, watch half-hour or so of movie, take break to make pizzas when you realize everyone is hungry, eat pizzas while watching remainder of movie. See how demanding and precise it has to be? ha!

Tasty Pizza Dough
adapted from an unattributed recipe on foodnetwork.com

Mix well in a large bowl: 
3 3/4 cups all-purpose flour (I use a mix of half unbleached white and half white whole wheat)
1 1/2 tsp salt

After mixing, make a little well in the center and add:
1 TBSP sugar
2 1/4 tsp yeast (one packet if you use packets)
1 1/3 cups warm water

Allow this to sit for about 5 minutes or so until the water portion becomes quite foamy. This is the yeast working! My kids love to watch the "burps" made by the yeast. When it's nice and foamy, mix in 3 TBSP olive oil and then you get to knead. Use a well-floured surface! Let the kids help! I knead for about five minutes or so until it seems smooth and firm but still slightly springy. Then it goes back into the bowl we can use our hands or a brush to lightly coat the finished ball with olive oil. Let it rise until "doubled in size" or 1-2 hours, depending.

Note: I seem inclined to forget to add the olive oil until halfway through the kneading and I've worked it in late with good results. This is what I like to call error proof!  Making the pizza itself takes about as much time as you want to devote to chopping things. I use a few spoonfuls of regular jarred tomato sauce, followed by cheese, then other toppings.

To cook pizza:
Preheat the oven and pizza stone to 450 degrees.  Lightly flour your pizza peel, cut the dough in half and put it on the peel to stretch. The other half will fall limply back into the bowl and look funny and that's okay; just ignore it. You can add a tiny bit of flour to keep your hands from sticking, but you shouldn't need a whole lot at this point. You can toss it if you want, but you're more likely to tear it that way, so I suggest just stretching. 

Once it's the size you want, add a bit of sauce and toppings as you like! May I suggest that a little fresh mozzarella goes a long way? This is also a neat place to use up leftover vegetables or bits of this or that. The chicken pizza with corn cut from a leftover cob, green pepper and red onion was pretty tasty!

Put in the pizza and cook for about 12 minutes or until the crust begins to brown and feels crisp when you tap it. We make two back to back.  Scheduled for tonight: Harry Potter and the Sorcerer's Stone. When the kids are older, Pizza/Movie night will probably be followed by Family Game Night but for now there is only so much Go Fish, Chutes & Ladders and Uno that we can take. 

Make it fun, make it work for you, but do make some dinner and eat together as a family! Our world will thank you.

Tag Cloud

Make Your Own simplify Easy garden Inside My Fridge Living on Less recipes food frugal Live Well meal plan Tennessee Edible Landscaping Kitchen Garden organic Garden Tour Spring flowers Real American Food Use It All change vegetables Dinner Grow Your Own grow tomatoes Life Love Summer greens kids Family dinner recipes explore gift seeds Companion Plants Lettuce Reality Sink Saving Seeds bread freezer garlic squash Fall Inspiration Special Try It and See emotion moderation planting quick reduce Art Artisan Bread Beauty CSA Celebrations Cool Beverages Cucumber Experiment Featured Flood Sheet Mulch Small Changes Tea craft fruit reuse soup stock waste yogurt "sometimes food" Amaryllis Becky's Favorite Things Bloody Mary Blueberries Books Cabbage Chard Connections Date Night Edible Flowers Family Dinner Jacob's Ladder Lint No-till Organize Read Real Life TN Native Plant Trash Day Use the Oven Winter black-eyed susan chicken crock pot daily reminder essential oil garden pests kale leftovers permaculture plastic pork potatoes recycle rudbeckia seedling stir-fry strawberries swale trash vegetarian volunteer A-frame Authentic Authentic2 Bacon Baking Fail Better Homemade Body Balm Breakfast Build Soil Butter Carrots Chives Chocolate Milk Chocolate Syrup Christmas Clean Cookbook Review Crock Pot Bread Eat Local Faith Fire Cider Food as Medicine GM foods GMO Ginger HFCS Health Holy Honeysuckle Hot Cocoa Household cleaner Hydrangea Icebox Pickles Iced Mocha Immune Booster Iris Kitchen Sink Lent Life Notes Monsanto Morning Sink My Neighbor's Garden Pickles Placating with Plating PlantEaters Propagating Geraniums Sacred Salvia Leucantha School Lunch Sewing Slow Cooker Bread Slow Cooker Fail Spiderwort Spinach Spiritual Practice Spring roll Sprouts Thanksgiving Time-saving Tips Tincture Turkey Turmeric Victory Garden Vodka Water Kefir What Chefs Feed Their Kids basil bento berm birthday borage brassica broccoli cabbage worm cake canned tomatoes chili coconut compost dessert discipline eggplant eggplant parmesan fennel flour food waste frosting gluten green beans greenhouse grocery healthy hair healthy scalp hornworm hugelkultur icing knead kneading kohlrabi landfill lasagna garden nasturtium natural hair wash no poo pancakes parsley patience pests pizza plantain potager processed sangria seed pot smoothie standing desk substitute for dill tarragon teacher appreciation teacher gift vegan water window crayons yeast

Eat Locally!