Monday, July 28, 2014

My Neighbor's Garden: tomato in the flowerbed

Edible Landscaping
My very first post on this blog was about planting edible landscaping, and my first foray into that endeavor was putting squash into my flowerbeds. In the four years since, I've gradually been digging up and planting my only prime, full-sun space...which is the front yard. 

Now, I live in a rural/suburban area, and several of my neighbors have always had gardens. But this year, I've seen all sorts of wonderful edibles springing up in front of people's houses, and I decided I want to start sharing some of them. The house above is one I pass by daily, when I take my dog for a walk. Sometimes I chat with an older gentleman who has a morning cigarette on his porch. There are always lovely flowers/bulbs blooming here, and it's always a treat to pass by. This year, I was really pleased to see a few tomato plants keeping the flowers company (you can spot a few ripe ones if you look closely!).

Keep it growing folks!

Tuesday, July 15, 2014

Soothing Body Balm, with Lemon & Lavender

 Natural, soothing body balm
I have fairly dry skin, especially in the winter. I used to slather my face with Vaseline before bed, but wanted to find a non-petroleum alternative (FYI, aquaphor is 41% petrolatum). I began experimenting, trying many formulas and ingredients, and this is my official "Becky's Body Balm" recipe. It is soothing, moisturizing, and chock-full of great stuff for your skin!

I started out making it as just a blend of oils, but it was too....oily. The beeswax helps a lot. If you make your own, experiment with varying proportions of ingredients to suit your taste and/or budget. 

The basic recipe is 1 part beeswax, 1 part coconut oil, 1 part shea butter, and 1 part a mix of olive/sweet almond/jojoba oils. I also add some raw cocoa butter, pure Vitamin E oil, and essential oils.

Step One: set up a double boiler. Mine is just a stainless steel bowl set over a saucepan filled with water. I turn it on to medium, but then keep it low once the water has heated up.

beeswax
Step Two: Add beeswax; I like these little pellets. Keep an eye on it and, when the beeswax melts, you'll probably want to lower your heat.

coconut oil
Step Three: Add coconut oil. I try to put in the things that can take a higher heat first, so the heat will only go down from here!

raw cocoa butter
Step Four: Add raw cocoa butter. This is what it looks like, if you've never seen it before, and yes, it does smell like chocolate. 

cocoa butter
I was so excited when I first got my cocoa butter that I decided to make something with only cocoa and shea butters, but what began as a "deliciously chocolate" aroma was so overwhelming after heating/cooling in my kitchen for a few hours that I actually became nauseated. Now I only add a small amount (as you can see above).

Shea butter
Step Five: once all of that has melted well while I mix gently, I turn off the heat completely and add in the shea butter. Shea butter can range naturally in color from a more ivory to a yellow color but it's never pure white in color. What I'm using in this picture is actually Shea Butter’s fraternal twin, Kpangnan Butter (sometimes called Golden or Yellow Shea), and is very similar in quality to shea...it's a good substitute if you can't find shea.

Step Six: add in olive oil, sweet almond oil, and jojoba oil.

body balm
Step Seven: Remove bowl completely from the saucepan and stir regularly. If you have a stand mixer with a paddle attachment, I think it would be ideal to use here on a really low speed, but I don't have one. I set my bowl on a towel stir it very regularly. Once it begins to firm up at all around the edges/top, stir continuously. This is very important to ensure a smooth, even consistency.

Once I can see it getting firmer/thicker, I add the Pure Vitamin E oil and any essential oils. Currently, I use tea tree oil, and lemon/lavender essential oils until I like the smell.


Lemon & Lavender essential oils in Body Balm
Once it has cooled down and smoothed out, pour into your container of choice and use/share! This is a great way to reuse old body butter containers. Jelly jars also are an affordable/convenient option. I recently found a great source for these little tins, which are wonderful for the Body Balm.

I use this on my face and body every day. It is terrific for dry, cracked hands in winter, and for soothing skin in summer. Not everyone can handle the emollients on their face, but I don't know anyone who doesn't like it for knees, elbows, or ankles. I am experimenting with adding some zinc oxide to the mix for a mild barrier sunblock, and thus far I like the results! I'll keep you posted.

Go forth, and make your own!!


Sunday, July 13, 2014

Season's First Eggplant = Eggplant Parmesan with Roasted Tomato Sauce


Eggplant Parmesan
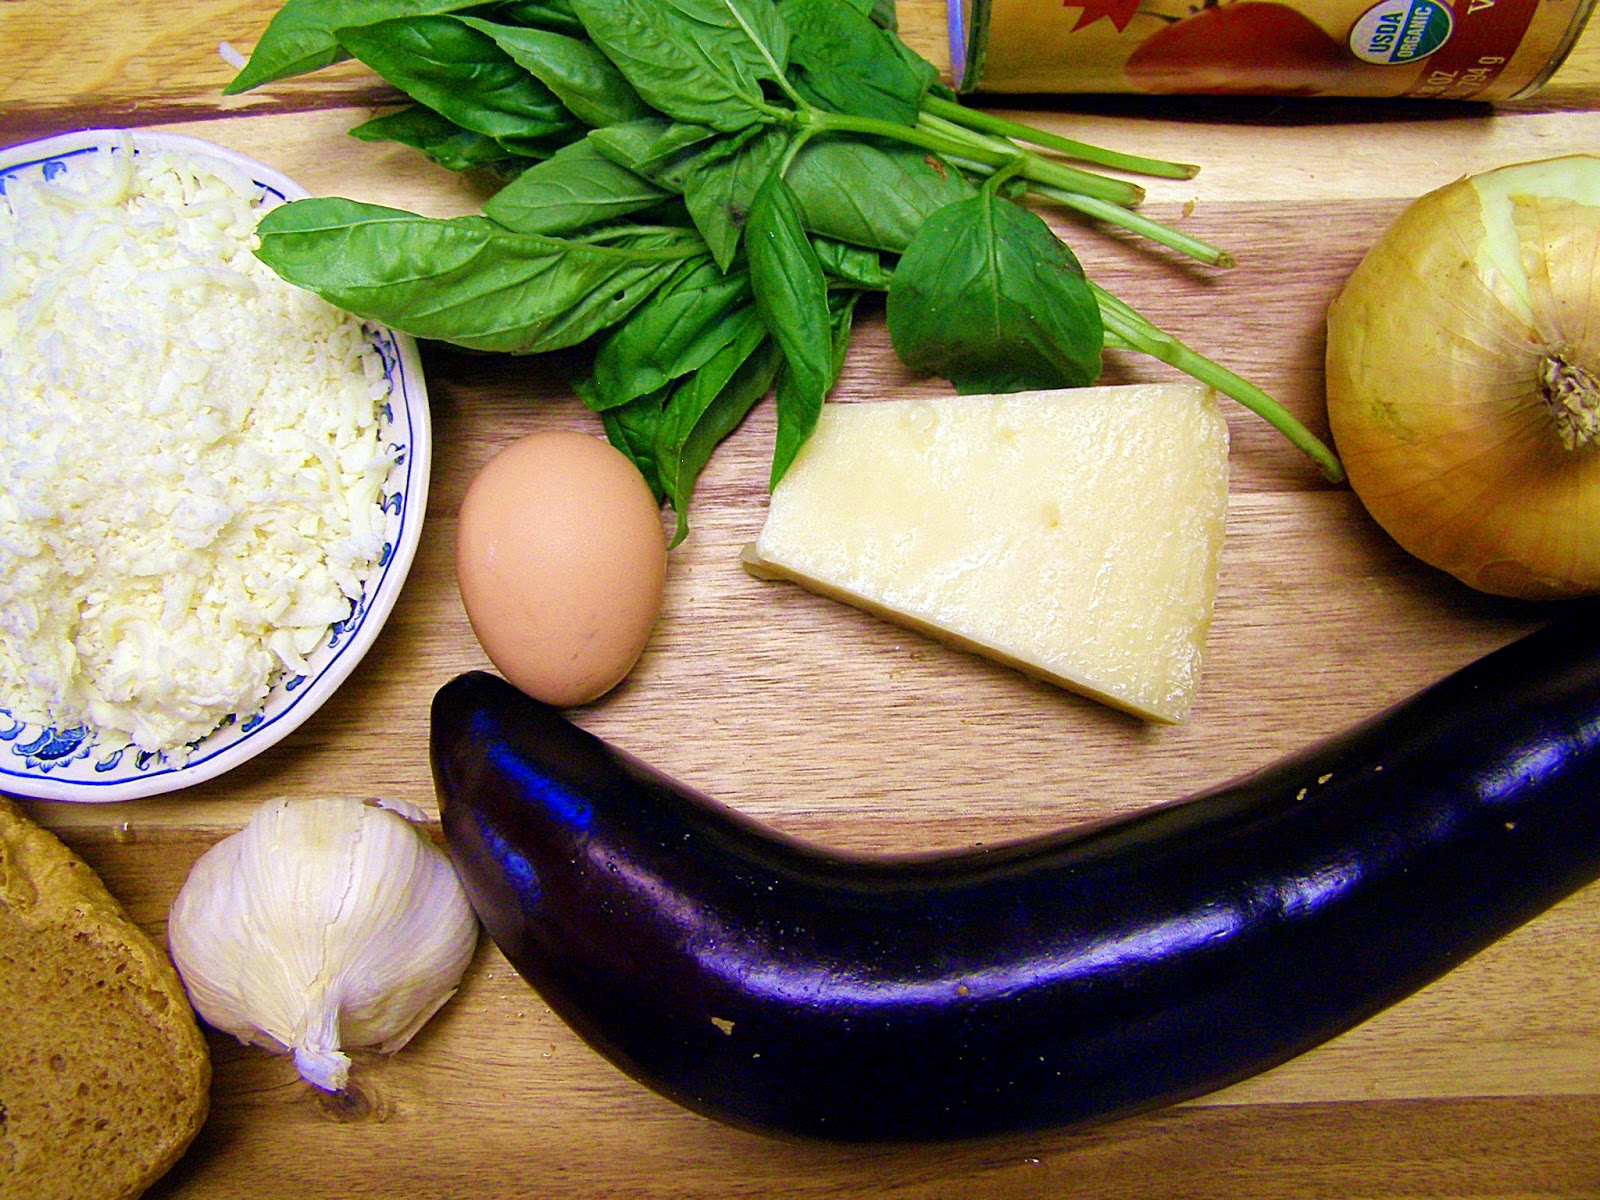
We returned from vacation to find our first beautiful eggplant. Usually, I like to make Eggplant Parmesan with a fresh tomato sauce, but all the growing tomatoes are green and I've used up last summer's frozen tomatoes. But my pantry always has a jar or can of organic whole tomatoes, and I have plenty of fresh basil, so dinner is on. 

Roasting canned tomatoes is a great way to bring out their flavor, so that's my plan for the sauce. You can use a jarred sauce for this if you want (and I use plenty of that for pizza and such), but your eggplant will thank you if the sauce is fresh....and it's really easy.


First, preheat your oven to 350F. Then, find a pan in which the tomatoes will fit snugly, but not be on top of each other. A 9" square/round pan is usually great, and most people have these in the kitchen. Add a touch of olive oil, chop an onion, add a dash of red pepper flakes, and pop it in the oven for 10 minutes or so. You want the onion to soften, but not brown.

Canned tomatoes
While the onion is roasting, drain (and save!) the juice from your can of tomatoes. We'll add this back in later, but we want the tomatoes to roast, not stew. I actually had a half tomato from the garden so I chopped that into large chunks. Grab a few cloves of garlic and peel them. If they're large, split them down the middle. You can also see some shallot I found that needed to be used.


Roast tomatoes
When the onions start to soften (as you can see, mine were not quite translucent yet), add in the drained tomatoes, garlic, shallot. I added a splash of olive oil, salt, and pepper and stirred it up. Now it goes into the oven for 30-40 minutes to slow-roast.

Fresh Eggplant
While that's roasting, it's time to work on the eggplant, which needs to be sliced thinly (maybe 1/4" slices). You can see two tins: one has some seasoned breadcrumbs, and the other has a beaten egg with a little water added to stretch it. Dip the eggplant slices in egg wash, then in the bread crumbs, and put them on a cookie sheet. Roast them at 350F for 5 minutes, then flip and roast for another 5 minutes.

I found this no-fry technique for eggplant here a few years ago, and I strongly prefer it to frying the eggplant in a skillet. It stays crisper, is healthier, and I don't have to have both the stove and oven going in a Tennessee July. I don't make eggplant parm in the winter....eggplant is a SUMMER vegetable and the flavor is far superior when it's fresh. 

Also, when I pick eggplant fresh, I almost never find that it's bitter, or that the skin is tough, and I never have to salt it ahead of time. Word to the wise: TASTE a piece of the raw eggplant to be sure! In fact, taste everything as you go. You'll learn a lot about how flavors develop.

Roasted tomatoes
Above, you can see the tomatoes after about 35 minutes in the oven. They smell divine.


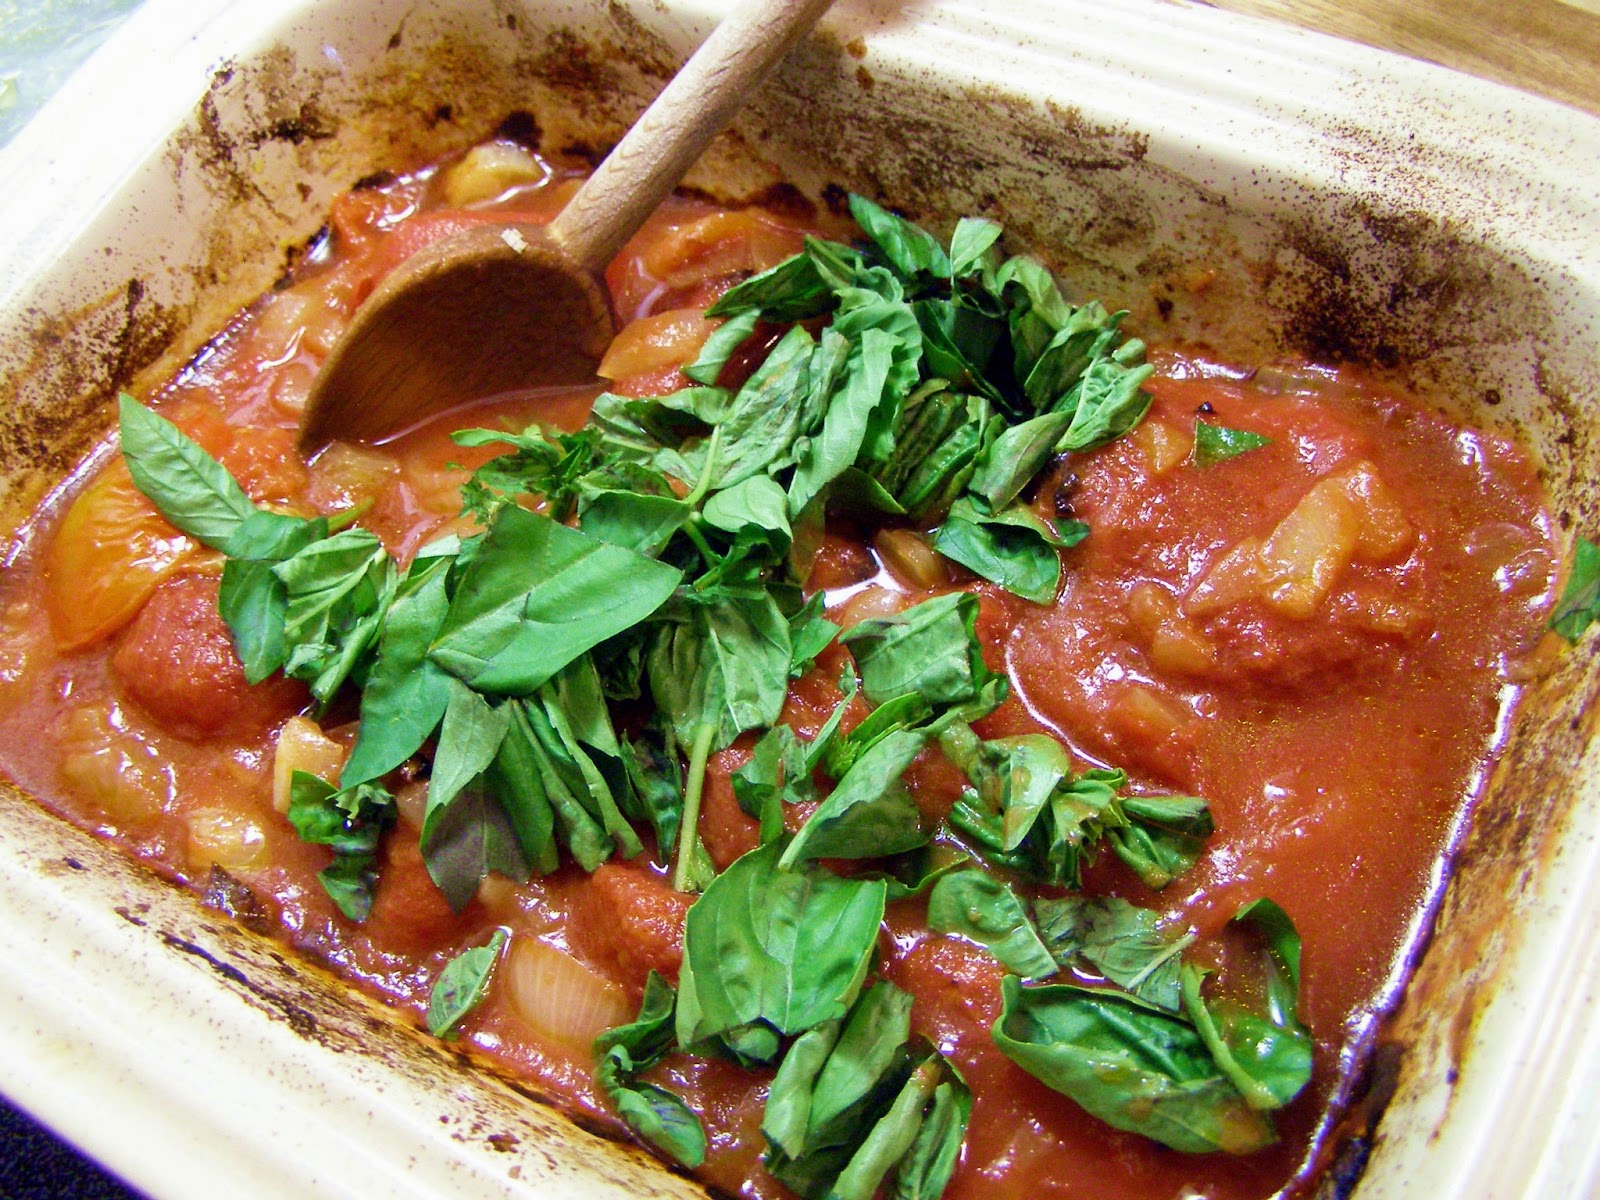
Next, roughly tear the basil leaves, and mix them + the reserved tomato juice all in with the roasted tomatoes. This is then set aside to cool a little while we finish roasting the eggplant slices. (Taste it.)


Quick tomato sauce
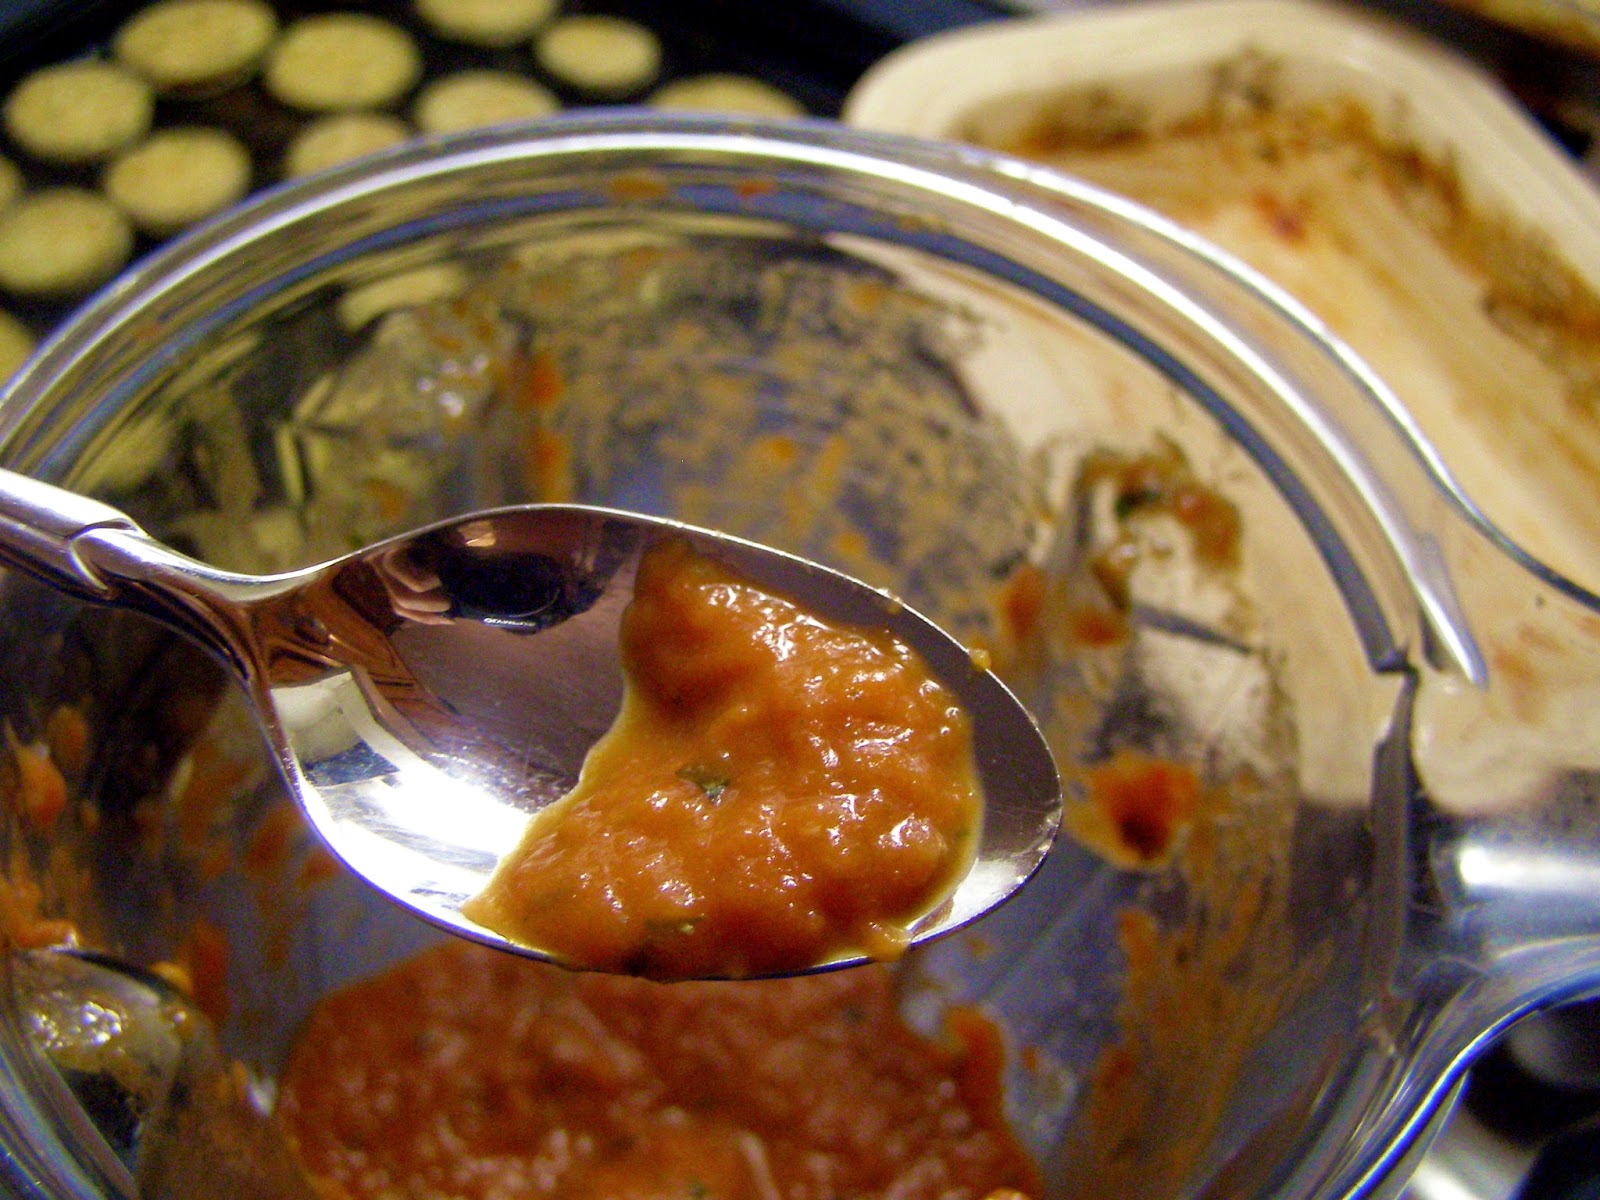
Once the sauce cools a little, dump it all into the blender and let 'er rip. Then, (of course) taste the sauce and see if it needs salt or pepper. This is also basically how I make my fresh tomato sauce (minus the roasting of the tomato). With roasted or fresh tomatoes, it is unlikely you will need any sugar. Sauce made this way will look a little pinker than jarred sauce, and it should taste really fresh.

Now, at this point, you can (1) set everything aside and assemble the dish shortly before you eat, (2) assemble the dish and store it in the fridge to bake later, or (3) assemble and bake now. If you put it in the fridge, I recommend putting it in a cold oven so it can warm as the oven preheats.


Eggplant parmesan
Assembly: put some tomato sauce in the bottom of your dish. Layer in the eggplant slices. Top with grated mozzarella and grated parmesan. Then start over, until your dish is full.

Eggplant parmesan
Here's the dish, ready for the oven. Bake at 350F for 30-45 minutes until browned and bubbly. (So, check it at 30 and see how it looks, but know that it won't need more than 45 to cook thoroughly.)

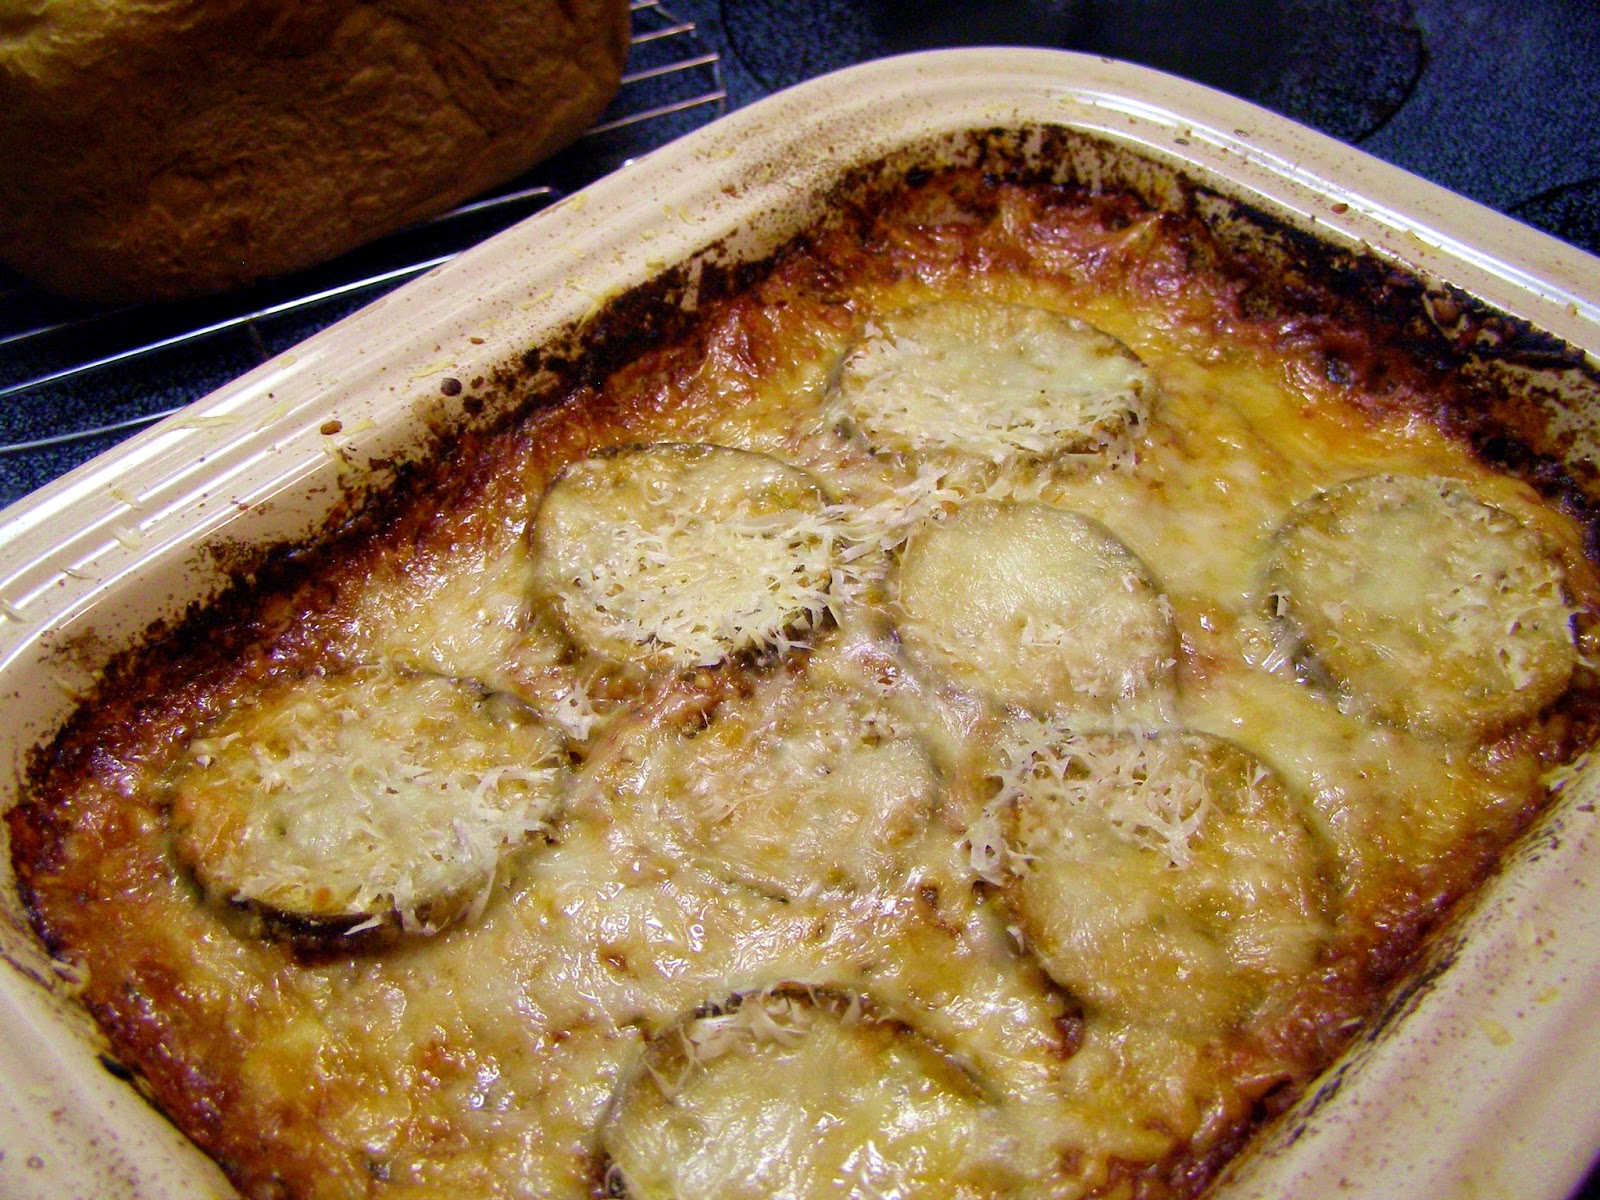
Eggplant parmesant
Here's the finished dish, ready for dinner! I've set up a "glory shot" here, with the homemade bread in the background. Three out of four family members rated this dish a "10," and we picked up some more eggplant at the local Farmer's Market to enjoy the bounty of the season!

Buy seasonally. Cook simply. Eat well!


Tag Cloud

Make Your Own simplify Easy garden Inside My Fridge Living on Less recipes food frugal Live Well meal plan Tennessee Edible Landscaping Kitchen Garden organic Garden Tour Spring flowers Real American Food Use It All change vegetables Dinner Grow Your Own grow tomatoes Life Love Summer greens kids Family dinner recipes explore gift seeds Companion Plants Lettuce Reality Sink Saving Seeds bread freezer garlic squash Fall Inspiration Special Try It and See emotion moderation planting quick reduce Art Artisan Bread Beauty CSA Celebrations Cool Beverages Cucumber Experiment Featured Flood Sheet Mulch Small Changes Tea craft fruit reuse soup stock waste yogurt "sometimes food" Amaryllis Becky's Favorite Things Bloody Mary Blueberries Books Cabbage Chard Connections Date Night Edible Flowers Family Dinner Jacob's Ladder Lint No-till Organize Read Real Life TN Native Plant Trash Day Use the Oven Winter black-eyed susan chicken crock pot daily reminder essential oil garden pests kale leftovers permaculture plastic pork potatoes recycle rudbeckia seedling stir-fry strawberries swale trash vegetarian volunteer A-frame Authentic Authentic2 Bacon Baking Fail Better Homemade Body Balm Breakfast Build Soil Butter Carrots Chives Chocolate Milk Chocolate Syrup Christmas Clean Cookbook Review Crock Pot Bread Eat Local Faith Fire Cider Food as Medicine GM foods GMO Ginger HFCS Health Holy Honeysuckle Hot Cocoa Household cleaner Hydrangea Icebox Pickles Iced Mocha Immune Booster Iris Kitchen Sink Lent Life Notes Monsanto Morning Sink My Neighbor's Garden Pickles Placating with Plating PlantEaters Propagating Geraniums Sacred Salvia Leucantha School Lunch Sewing Slow Cooker Bread Slow Cooker Fail Spiderwort Spinach Spiritual Practice Spring roll Sprouts Thanksgiving Time-saving Tips Tincture Turkey Turmeric Victory Garden Vodka Water Kefir What Chefs Feed Their Kids basil bento berm birthday borage brassica broccoli cabbage worm cake canned tomatoes chili coconut compost dessert discipline eggplant eggplant parmesan fennel flour food waste frosting gluten green beans greenhouse grocery healthy hair healthy scalp hornworm hugelkultur icing knead kneading kohlrabi landfill lasagna garden nasturtium natural hair wash no poo pancakes parsley patience pests pizza plantain potager processed sangria seed pot smoothie standing desk substitute for dill tarragon teacher appreciation teacher gift vegan water window crayons yeast

Eat Locally!